

This scenario happens more often than you might think. Even with the right ingredients and a clean jar, mould can creep in. And why is that? Because a simple imbalance – in temperature, sugar or water quality – is enough to weaken your crop.
The aim here is not to alarm you, but to give you the right reflexes to keep your grains healthy and active. You will learn how to recognise the first signs of a problem, how to correct your method before it gets worse, and how to maintain a clean, stable environment.
In this article, we will look at :
Every tip has a reason, every detail counts. You’ll find out how to prevent mould without having to start from scratch every time.
Mould never comes for no reason. It sets in when the environment is no longer suitable for the grains. An unstable temperature, a lack of hygiene or water that is too low in minerals can be enough to trigger the problem. Understanding these causes is the first step in preventing it.
Kefir is sensitive to everything around it. The slightest food residue, a badly rinsed spoon or a badly dried jar can introduce undesirable micro-organisms.
Before each use :
Simple negligence at this stage can turn a healthy preparation into a breeding ground for mould.
The water used has more impact than you might think. If it is too chlorinated or lacking in minerals, the grains weaken. And weak grains ferment poorly, leaving room for undesirable agents.
Tip: use filtered or spring water, or water that has been rested for 24 hours to remove the chlorine.
| Type of water | Recommended? | Why |
| Chlorinated tap water | No | Chlorine inhibits kefir micro-organisms |
| Filtered or spring water | Yes | Balanced in minerals, gentle on grains |
| Distilled water | No | Too poor and the grains rapidly weaken |
Water kefir likes stability. Below 18°C, fermentation slows down; above 28°C, it speeds up too quickly. In both cases, the grains tire and the beneficial bacteria lose their balance.
To stabilise the temperature :
Ideally, keep your jar at room temperature (between 20 and 25°C), out of direct sunlight.
Too little sugar, or mouldy dried fruit, can upset the balance. The yeasts in kefir then lack the energy to produce the acids that protect the drink.
To prevent this imbalance :
Kefir needs oxygen to ferment properly. If the jar is too tightly closed or poorly covered, air cannot circulate and moisture accumulates, creating an environment conducive to mould.
To ensure good ventilation :
Cover your jar with clean gauze or a thin cloth held in place with a rubber band. The air will pass through, but not the dust.
These often trivial causes are enough to compromise fermentation. But the good news is that they’re all easy to fix – and even easier to prevent once you know where to look.
Recognising mould in water kefir is not complicated, as long as you know what to look for. Many people confuse a simple film of natural yeast with real fungal growth. But the differences are obvious when you learn to spot them.
Real mould appears as a thin dry layer on the surface, often white, green, bluish or grey. It does not mix with the liquid and appears to float, sometimes with a fluffy or dusty appearance. It has a pungent, musty or musty smell.
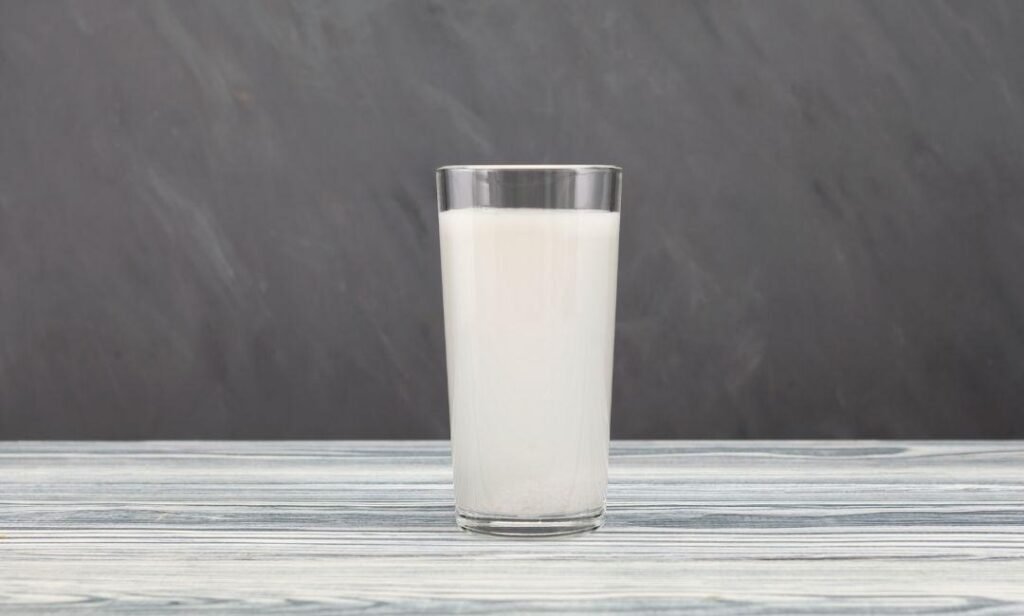
On the other hand, a fine, uniform white foam with no strong odour is nothing to worry about. It simply indicates active fermentation. The liquid remains clear, slightly sparkling, and the grains continue to develop.
Doubts can often be removed by observing the texture: mould remains on the surface and dries quickly, while yeast becomes part of the liquid and disappears when stirred. To sum up, if a film appears solid, coloured or smells bad, you need to act without delay.
When mould sets in, you need to react with precision. Simply rinsing is not enough: the contamination can spread to the liquid, the fruit and even the surface of the grain. Here are the detailed steps to eliminate all traces of mould and try to save your crop without risking making the situation worse.
As soon as the mould is visible, isolate the jar from your other preparations to avoid any cross-contamination.
Don’t just remove the visible surface:
The aim is to eliminate any source of propagation before handling the grains.
The grains are alive, but they are also porous: they can retain invisible spores. A superficial rinse is therefore not enough.
Proceed as follows:
Never use vinegar, lemon or alcohol to “disinfect” the grains. These products also destroy useful bacteria and yeasts.
Thorough cleaning of the equipment is essential to avoid recontamination.
Clean each component separately:
The material must be dry and odourless before the grains are brought back into contact. Stagnant humidity encourages the return of mould.
Before resuming full production, it’s best to check the vitality of the grains with a test fermentation. Recommended preparation :
Place the rinsed grains in this mixture, cover with gauze and leave to ferment for 24 to 36 hours at a stable room temperature (20-25°C).
During this period, observe :
If nothing moves after 36 hours, the seeds are probably too weak to be recovered.
After the test fermentation, examine your grains carefully:
Healthy grains can be restarted on a new standard preparation. On the other hand, those that are crumbling or darkening must be eliminated. Invisible contamination can compromise future batches, even if the surface appears clean.
A well-applied recovery protocol can often save some of the grain. But if doubt persists, it’s better to start afresh on a sound footing rather than risk repeated contamination.

Preventing mould from reappearing means above all maintaining a healthy, stable environment. Water kefir is a living culture: it adapts, but it remembers the conditions in which it evolves. A fragile balance is difficult to re-establish if it is not carefully maintained.
Each fermentation cycle leaves invisible deposits on the glass, lid or utensils. These residues become the starting point for new contaminations.
To keep your equipment clean:
Good hygiene limits the risks of imbalance and protects the beneficial flora of your grains.
Kefir likes consistency. Sudden changes in temperature or a change of water source can stress the grains and encourage the growth of undesirable micro-organisms.
Best practices to adopt :
Water with a balanced mineral content and a stable temperature guarantee healthy, regular fermentation.
Well-nourished grains are resistant grains. A lack of sugar or fruit that is too old weakens their activity, opening the door to imbalances.
To maintain their vitality:
A consistent feeding rhythm maintains the symbiosis between bacteria and yeast, which naturally prevents mould from taking hold.
Air is essential to the proper development of kefir. Too much humidity, a closed jar or poor air circulation create ideal conditions for mould.
To remember:
An aerated environment keeps the surface dry, which prevents spores from taking hold.
Prevention also requires vigilance. Healthy kefir has a fresh, slightly lemony smell, with regular activity of small bubbles. Any sudden change – strong odour, coloured film, dull grains – should raise a red flag.
Inspect each batch before eating it. If in doubt, it’s better to leave with a small quantity of healthy grain rather than risk contaminating the whole batch.
These simple practices, applied consistently, will transform your fermentation routine into a safe and sustainable method. The secret lies in regularity: well-maintained kefir gives mould no chance.
There’s nothing mysterious about avoiding mould. It’s a question of consistency, cleanliness and care. By following a few simple steps, you can transform a fragile preparation into a stable, long-lasting, living culture. And that’s the satisfaction of water kefir: to see your drink renew itself, improve, and reflect your own care.
Each fermentation becomes a small victory. You now know how to recognise weak signals before they become serious, how to react at the right time, and how to maintain conditions that encourage grain vitality.
In practice, good maintenance is based on three reflexes:
With practice, everything becomes instinctive. Your kefir is no longer an uncertain experience, but a mastered routine, nurtured by precision and patience. A living drink, just like you – balanced, regular and full of energy.
To take things a step further, Natural Probio offers a selection of fermentation products and advice for the discerning amateur. The right equipment and reliable ingredients make all the difference when it comes to preserving the health and longevity of your grains.
With our fresh, active water kefir grains, you can make a natural, fizzy drink that’s rich in probiotics.