
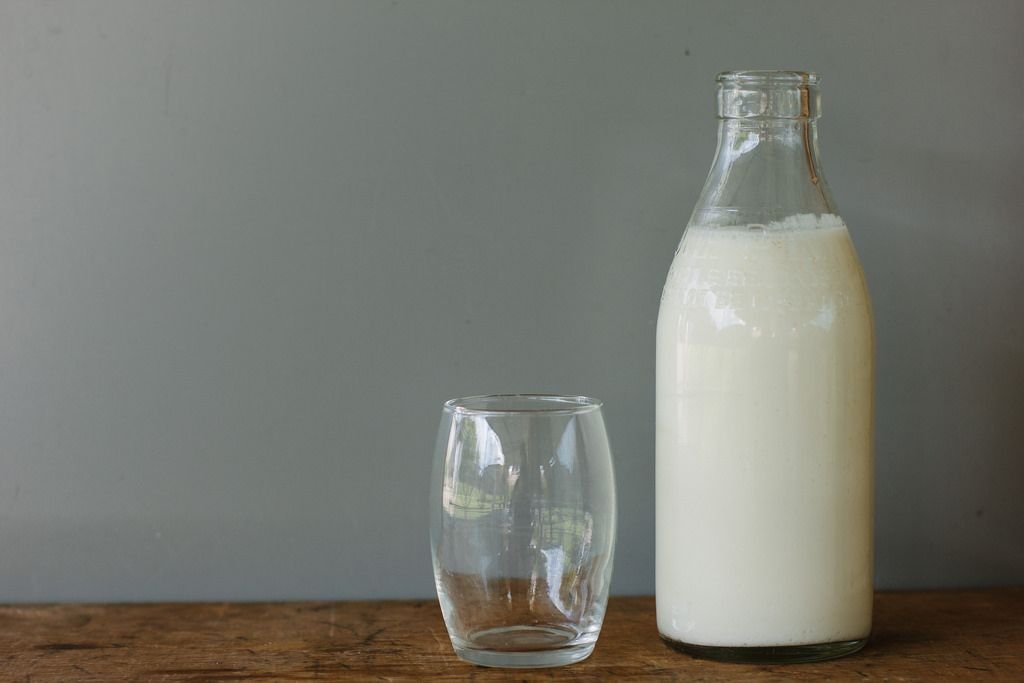
When you start making milk kefir, you quickly discover two realities: on the one hand, the grains are incredibly lively and generous, capable of multiplying and transforming milk into a pleasant fermented drink with disconcerting ease. On the other, this generosity can become… invasive. You’ve got too many grains, you’re going on holiday, you can’t restart every day, or you simply want to keep a ‘backup’ in case your main crop goes off the rails. And here’s a question that comes up regularly: can you freeze milk kefir grains?
Freezing is one of those solutions that seem obvious in modern cooking: we freeze bread, herbs, meat, fruit… so why not grains? But kefir grains are not an “inert” food. They are a living, structured community that reacts to changes in temperature, humidity, environment and stress. Freezing is a shock. A shock that can be managed, yes, but which is never totally neutral.
In this article, we’re going to answer that question without over-dramatising or making unrealistic promises. Yes, you can freeze milk kefir grains. Yes, some go down very well. But you need to be aware of the limits, the risks, and above all the right method for maximising the chances of recovery. We’ll also look at the often gentler alternatives (fridge, milk ‘reserve’, maintenance cycles) and the best way to restart after freezing to get back a stable kefir with the taste and texture you like.
And as many kefir enthusiasts also like to explore other home fermentations, we’re going to keep a simple logic in mind: a living culture preserves itself, slows down, revives itself and balances itself out. This philosophy is also found in kombucha. If you like to vary your living drinks at home, you can supplement your kefir routine with our SCOBY Kombucha (a natural, authentic strain of kombucha) to start a stable, regular fermentation, with no ‘naked link’, in a natural way, as your habits change.
Yes, you can freeze milk kefir grains. They can survive freezing, especially if you prepare them properly, protect them (milk, partial drying, quick freezing) and follow a gradual restart.
But freezing is not the gentlest method. It can :
So, if your objective is a short to medium break (a few days to two weeks), refrigerated storage in milk is generally simpler, more stable and more “comfortable” for growing. Freezing is particularly useful for :
The main problem with freezing is not the cold itself, but the formation of ice crystals. These crystals can damage delicate structures such as cell membranes, microbalances in the grain matrix and the protective microenvironment.
The slower the freezing process, the larger the crystals can become. The larger they are, the greater the risk of damage. Conversely, rapid freezing creates smaller crystals, which are often less destructive.
We often talk about bacteria and yeasts, but it’s important to remember that grains have a structure. This structure houses, protects and organises the flora. When this structure is disturbed, the crop can become less regular when restarted, even if not all the micro-organisms have disappeared.
No two batches of grains react in the same way. Resistance depends on :
That’s exactly why you need a ‘clean’ method rather than improvised freezing.
If you’re going away for a few days, the fridge in milk is generally perfect. Start again when you return, and within 1 or 2 cycles everything will be back to normal.
Easier than freezing. Even if the milk becomes more acidic, the grains remain in their natural environment and restart more easily.
This is where freezing makes sense, especially if you can’t renew the milk in the fridge, or if you want a real “back-up” that requires no maintenance.
Many people freeze a small portion of grain as “insurance”. It’s reassuring. And in the event of a problem (contamination of the jar, prolonged forgetfulness, handling error), you have a solution.
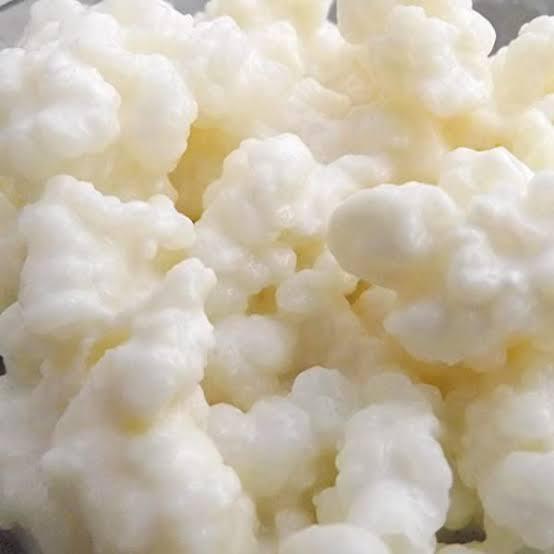
This is the most accessible method. The idea is to preserve the grains in their environment, with natural protection.
Advantages :
Disadvantages:
Here, the free water is reduced to limit the formation of large crystals. Some people add a denser “sweet” or “milky” protection, but you can keep it very simple: drain gently, portion out and freeze quickly.
Advantages :
Disadvantages:
In a domestic setting, both can work. If you want to maximise your chances, the “gentle draining + portioning + quick freezing” approach is often a good basis.
This is a crucial point. Do not freeze grains that have already been weakened by :
Ideally, freeze grains that :
The “stronger” your beans are before freezing, the easier it is to recover.
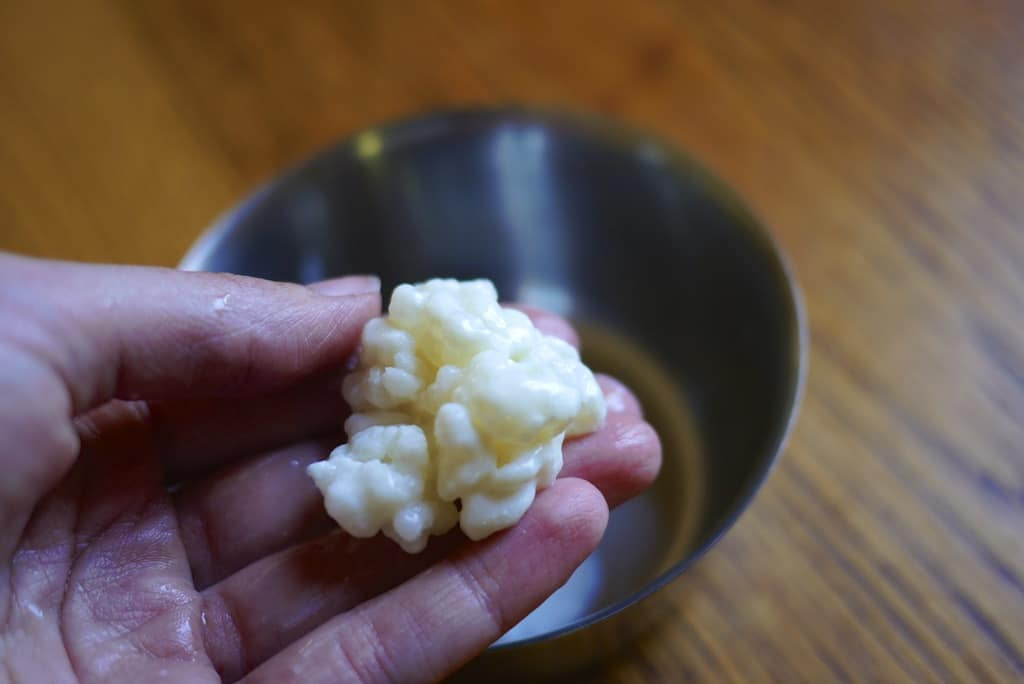
Filter your beans as usual. The aim is not to rinse them thoroughly. The aim is simply to remove the excess liquid.
Drain for a few minutes. There’s no need to dry them out completely. Just reduce the free water.
Don’t freeze everything in one packet. Portion out in small quantities (for example, the equivalent of 1 to 2 tablespoons, or 15 to 30 g). Why should you do this?
You can place the grains in a small container with a small amount of milk (or a little kefir), just enough to coat them. The idea is to create a more protective ‘cocoon’ than a naked grain.
Put your portions in :
Remove as much air as possible. Air promotes drying out and spoilage.
Then place in the coldest part of the freezer for quick freezing.
Make a note of the date. It sounds trivial, but it’s the only way to avoid forgetting a bag for an infinite amount of time and not knowing where you stand.
In practice, many people keep grains for several months, with the possibility of restarting them. But the longer you keep them, the more you increase :
If you want a pragmatic benchmark :
The domestic freezer is not a laboratory. It undergoes variations, door openings and sometimes frost phases. So the “freeze for a year and forget about it” approach may work for some, but it’s not the most reliable.
The aim is to avoid violent shocks.
The recovery is where many people go wrong. They want to “start again as before” from the very first cycle, and conclude that “it doesn’t work”. In reality, after freezing, a readaptation phase is often necessary.
Instead of putting the thawed portion straight into 1 litre, start small. For example:
Why is this? Because the crop can be more fragile, and a large volume can mask real activity. Small volume = easier observation + less pressure on the seeds.
Many people throw away the first batch, especially if it has a very strong smell or a strange texture. This is an option. The idea is not to ‘waste’, but to favour the stability of the recovery.
If the first batch seems OK, you can eat it, but be aware that it is often less representative of the ‘normal’ kefir you will have after a few cycles.
If the first cycle shows signs of fermentation :
Then increase to 500 to 700 ml.
Often, it’s the third cycle that really looks like ‘before’. Sometimes it takes 4 or 5. The key is patience.
Very common. The grains have been under stress. They gradually recover.
Solution: short but regular cycles, whole milk, stable temperature.
Also very common. Milk can be fermented (sour taste) without being very thick. Thickening often occurs with stabilisation.
Solution: richer milk + rest in the refrigerator after filtration + patience.
Sometimes, the crop starts out “unbalanced”: it acidifies quickly without giving the expected texture.
Solution: reduce cycle time, filter earlier, restart. Avoid long fermentations during the restart.
After freezing, multiplication may be slow for a while. This is not a definitive verdict.
Solution: regularity, suitable milk, avoid stress (heat, cycles that are too long, milk changes).
This is the biggest mistake. Freezing amplifies weaknesses.
Too much free water = bigger crystals = more damage possible.
You then force too much defrosting at once, and risk partial refreezing or loss.
Thermal shock = additional stress.
After freezing, pushing a long cycle can “break” the balance. Several short cycles are better.
Even if this blog is about freezing, it’s important to put the solution into perspective.
For a short to medium break, the fridge is often superior, because :
Freezing remains a long-term or back-up strategy.
A “dead” seed is rare, but possible. The worrying signs would be :
Before concluding, run at least 3 to 5 short cycles, using whole milk at a stable temperature.
This is where a ‘portioned backup’ comes in handy: you try another portion. If several portions fail, you can consider starting again with a new batch.
In the spirit of fermentation, that’s also why some people like to have two different cultures at home: one that runs on a daily basis (kefir) and another that offers an alternative (kombucha). If you like variety, you can start a stable kombucha with our SCOBY Kombucha (natural authentic kombucha strain) and explore complementary fermentation, especially during periods when milk is less practical.
What makes kefir interesting is the fermentation process. If your grains ferment well, your kefir becomes a normal fermented drink again. Freezing can :
But once the culture has stabilised, the kefir is generally comparable to what it was before, especially if you get back into a regular routine.
Not necessarily. Many survive. But it can temporarily reduce their vitality and require a gradual recovery.
In general, no. Defrosting, restarting in fresh milk and allowing the culture to rebalance is often preferable to rinsing with water.
Often 2 to 4 cycles. Sometimes more, depending on the freezing time and the vitality of the batch.
The texture often returns after stabilisation. Using whole milk and regular cycles helps a lot.
Yes, but the ideal is to avoid freezing too often if you don’t need to. Keeping a small portioned supply is usually enough.
We strongly advise against this. It multiplies stress and increases the risk of loss.
For a short to medium break: the fridge in milk. For a real long break: portioned, well-prepared freezing.
It is possible to freeze milk kefir grains, and this is an excellent back-up or long-term storage strategy when the culture cannot be maintained in the fridge. But it’s not a ‘magic’ method: freezing stresses the culture, and success depends very much on preparation (portioning, protection, rapid freezing) and above all on recovery (small volume, short cycles, rich milk, patience).
If you follow a gentle, regular method, you greatly increase your chances of finding a stable kefir after a few cycles. And if you like the world of home fermentations, you can also vary and keep a daily alternative: starting a kombucha with our SCOBY Kombucha (natural authentic kombucha strain) is a simple way to explore a complementary fermentation that’s stable and pleasant to follow.