
If you had to remember just one thing to succeed in making homemade milk kefir on a regular basis, it would be this: the quantity of grains per 1 litre of milk is the most powerful lever. More powerful than the choice of jar. More powerful than the “magic recipe” you read on a forum. More powerful even than most beginner’s tips.
Because grains are the driving force behind fermentation. Their quantity determines the speed at which the milk develops. And that speed influences everything: the taste (sweet or sour), the texture (smooth or separated), the digestive tolerance of some, and the ease of your daily routine.
The problem is that the internet loves to give absolute figures. “Put X grams.” “Put two spoons.” “Put a handful.” Except that kefir is alive, and so the right ratio also depends on the temperature of your kitchen, the milk you use, and the condition of your grains.
So in this article, I’m going to do what a good SEO guide should do: give you a reliable starting ratio, then give you a simple adjustment system so that you can find your perfect ratio according to your reality. And because we’re at Natural Probio, we’re also going to build a logical bridge to other fermentations. Many people who understand kefir dosing become curious about kombucha (a non-dairy fermented drink). In this case, starting with an authentic and natural strain of kombucha is a natural progression, because we find exactly the same logic of balance: live culture + time + temperature.
For 1 litre of milk, start with a “moderate” quantity of grains, then adjust according to taste and the speed of fermentation. The right dosage is the one that will give you a pleasant-tasting kefir in your kitchen within a window of around 12 to 24 hours, depending on the season.
Now let’s move on to the full version, the one that takes the guesswork out of it.
Many beginners treat grains as an ingredient that you add “to make it work”. But grains are the engine of the process. Adding more grains is like pressing harder on the accelerator.
Typical result: you put a lot of grains in 1L, leave it “as usual”, and you end up with a very acid kefir, sometimes separated into two layers, and you think you’ve failed. But you’ve simply accelerated too much.
On the other hand, you put in very few grains, wait 24 hours and your milk is barely transformed. You think your grains are ‘dead’, when in fact there are just too few of them for the volume.
Dosage is the art of choosing a fermentation speed that suits your lifestyle and temperature.
Another essential point is that kefir fermentation evolves. A “perfect” kefir at 16 hours may be too acidic at 24 hours. So dosage and time are linked. That’s why we’re going to talk about the ratio, but also the time, temperature and type of milk.
And if you like that fine-tuning aspect, you’ll love understanding kombucha too. The same logic applies, just with a different fuel (sugar in tea, instead of lactose in milk). To get off to a good start, an authentic, natural strain of kombucha gives you a reliable, stable base.
When you’re just starting out or when you want to stabilise a routine, the aim is not to make “the fastest kefir”. The aim is to make good, reproducible kefir that doesn’t get you into trouble.
The best starting point for 1 litre of milk is a moderate dosage. Why is that? Because it gives you some leeway. If it ferments too quickly, you reduce it slightly. If it ferments too slowly, you increase it slightly. You learn the dynamics of your grains without going to extremes.
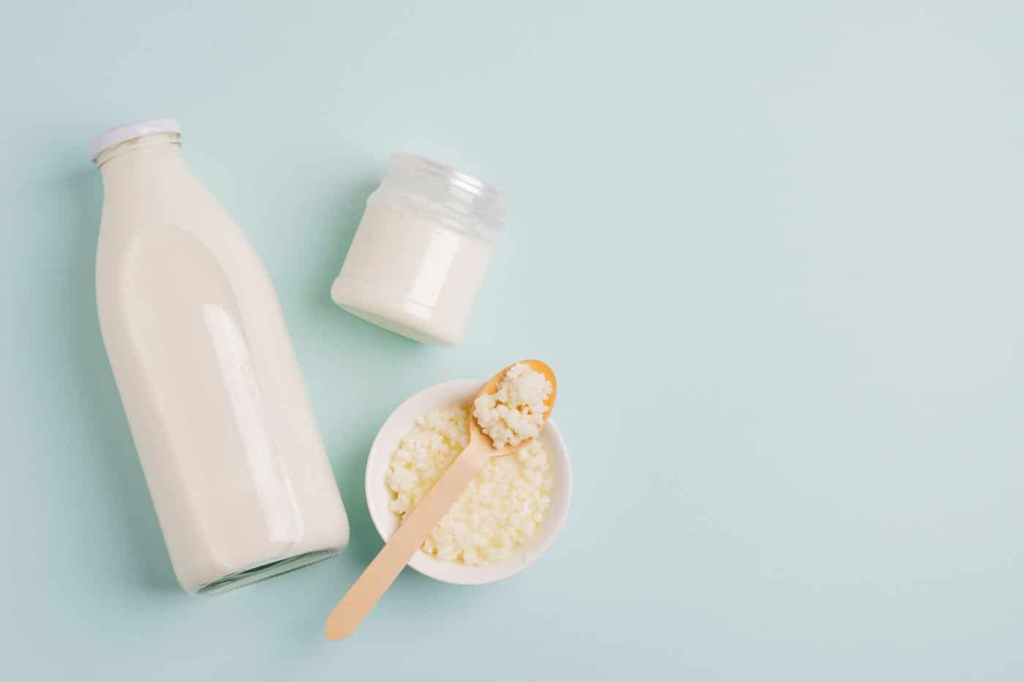
Many households don’t have dedicated grain scales. So a useful method is to reason in spoonfuls (or approximate volume). The idea is not to use milligrams. The idea is to be consistent: same spoon, same routine, same reference points.
For 1 litre of milk, start with a quantity that looks like a small ‘reasonable’ portion of grains, then observe the result. Then adjust in small steps, not huge leaps.
If your beans are very active and multiply quickly, you don’t need to use a lot for 1L. If your beans have just had a break in the fridge, they may be a little slower, and you may need a little more or a little more time.
In all cases, you should aim for a fermentation that gives you kefir that tastes good, not just “fermented”.
If your kitchen is warm, everything goes faster. With the same quantity of grains, fermentation will be faster. So your ideal dosage for 1L in summer is often lower (or your time shorter) than in winter.
If your kitchen is cool, everything goes more slowly. So your ideal dosage for 1L in winter may be higher (or your time longer) than in summer.
The classic trap: following a dosage found online without taking temperature into account, then concluding that “it doesn’t work”. When in fact it’s just a speed parameter.
Milk is more than just a support. It influences texture, roundness and sometimes the perception of acidity.
With whole milk, you can get a softer, rounder feel, even as fermentation progresses. A lot of people find they can push it a bit longer without it being “aggressive”.
With lighter milk, the acidity may be more noticeable. So your ideal dosage may seem “lower” simply because you’re looking for less acidity.
With goat’s milk, you get a different flavour profile. Some people find it more intense, so prefer a milder kefir (more moderate dosage or shorter time).
With UHT milk, it often works, but the structure of the milk can give a different result depending on the brand. So once again, observation is the key.
Very active grains ferment quickly. A slightly tired crop will ferment more slowly.
You can often recognise very active grains when they multiply regularly and your kefir easily takes on a good flavour. A tired culture can produce a flatter, slower, more unpredictable kefir.
The dosage must therefore be adapted to the vitality of your grains. And vitality also depends on your routine: if you make kefir regularly, the grains will stay in shape.
The ideal dosage for 1L depends on your palate.
If you want a mild kefir: more moderate dosage + shorter time.
If you want a very tart kefir: higher dosage or longer time, but with more risk of separation.
You have to decide what “successful” means for you, not for the internet.
Here’s the most effective way to stop guessing. It’s simple, and it works.
You make 1 litre of kefir with a reasonable amount of grains. Make a note of two things: how many hours you left it for, and how you found the taste.
You change nothing else. Same milk, same place, same routine.
If your kefir was too acidic, make a simple adjustment: either reduce the quantity of grains slightly, or shorten the time, but not both at the same time.
If your kefir wasn’t fermented enough, you can do the opposite: either increase the grains slightly or extend them, but not both at the same time.
By the third cycle, you should be very close to your ideal result. Then you stabilise the routine: you keep this ratio and adjust only when the season changes.
This method is exactly what people who are successful at long-term fermentation do, whether it’s kefir, sourdough or kombucha. If you want to apply this logic to kombucha, starting with an authentic, natural strain of kombucha helps you start with a healthy base, then you adjust time and temperature in the same way.
Use a moderate dosage and taste earlier. The idea is to stop fermentation when the kefir is fresh, pleasant and slightly acidic, but not sharp.
If you live in a hot kitchen, you shorten the time a little more rather than increasing the grains.
This is the most common case. Your goal: a kefir reminiscent of drinking yoghurt, with mild acidity, a pleasant texture and little separation.
Here, moderate dosage + fermentation within the 12-24 hour window (depending on temperature) is often the best strategy. You then adjust in small steps.
You can increase the quantity of grains or prolong fermentation. But you have to accept two common side-effects: marked acidity, and more likely separation.
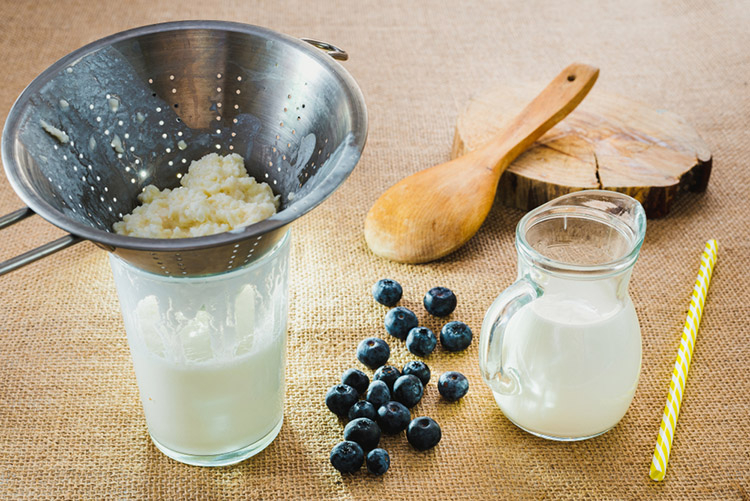
Many people like this style, especially if the kefir is then mixed with fruit or used in cooking. But drinking plain is not everyone’s choice.
When the grains come out of the fridge, they can be slower. You can either put in a few more grains, or give a “boost” cycle, accepting that the first kefir may sometimes be a little different.
The aim is to regain stability, not force it.
You start your kefir and within a few hours it’s already tasting a bit harsh. This is often a sign that the dosage is too high for the temperature of your room.
Simple correction: reduce the amount of grain in the next cycle, or reduce the time, but don’t change everything at once.
If the kefir separates into two layers (whey + denser part) very quickly, this is often a sign that fermentation has gone too far too fast.
Correction: fewer grains or less time, and possibly a cooler location.
A highly fermented kefir may feel drier and less rounded. If this isn’t what you want, it’s a sign that you need to slow down the process.
If you leave it to ferment and the taste remains very similar to milk, it’s often a lack of grain (or very slow grain).
Correction: slightly increase the quantity of grains, or extend the time a little more, or put in a more temperate place.
Sometimes kefir is slightly acidic but lacks personality. This may be due to fermentation being too slow or too short.
Correction: slightly increase the grain size or time, then note the result.
If your grains never multiply and fermentation remains weak, your routine may be too cold or too light. Sometimes you need a bit of regularity to ‘wake up’ a crop.
A scale helps, because it allows you to write down a number and reproduce it. But it’s not essential. Many people do perfectly well with volume, as long as they maintain consistency.
The real secret is to keep the same measuring tool (the same spoon, the same little bowl) and adjust gradually.
Instead of measuring randomly each time, follow a simple rule: you use the same spoon and observe the result. Then add or subtract a small amount each cycle until you find your point.
This process is more important than absolute precision.
If your kefir is good, but becomes too acidic because you can’t filter in time, you can sometimes solve the problem by adjusting the time and your schedule.
A very realistic example: you start your kefir in the evening, but you filter it the next evening instead of in the afternoon, so you exceed your ideal point.
Solution: cast later, or filter earlier, or reduce the grains a little. Often, a small routine adjustment is all that’s needed.
If your kefir is slow, you can sometimes solve the problem by putting the jar in a slightly warmer place rather than doubling the quantity of grains.
Once again, one small lever at a time.
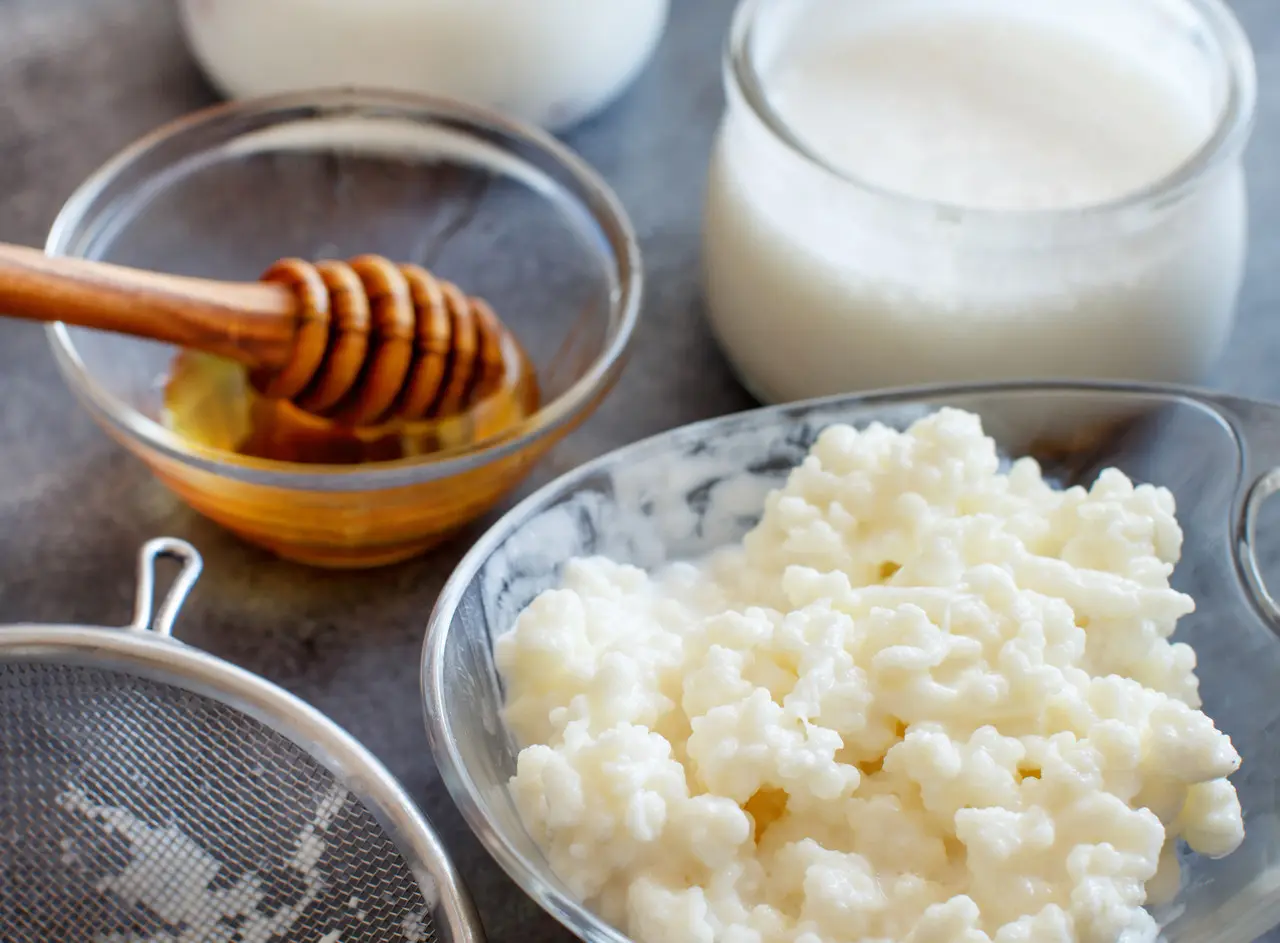
Pour in 1 litre of milk + grains, leave at room temperature in a stable place, then filter when the taste is pleasant. Add the grains to a new litre.
This routine gives you an active culture, regular kefir and a feeling of “it’s working by itself”, because you’ve found your right ratio.
When summer arrives, your kefir will naturally ferment more quickly. You have two options:
You filter earlier, or reduce the quantity of beans a little.
When winter arrives, you do the opposite: you extend the season a little, or increase the quantity of grain a little.
You don’t change everything. You adjust slightly.
Many readers who learn to dose grains find that they enjoy this type of routine. And very often the next question becomes, “what fermented drink can I make in addition, especially a non-dairy drink?”
That’s where kombucha is a perfect complement, because it’s based on fermented sweet tea, so it’s lactose-free, and it lets you vary while staying in the same world of living cultures.
To avoid initial setbacks (weak culture, unstable start-up, weird fermentation), the simplest starting point is an authentic, natural strain of kombucha: it follows the same logic as healthy kefir grains, i.e. a reliable living culture that you nurture rather than starting from scratch in a blur. And if you want a complete ‘living drinks’ routine, it’s a very coherent duo: milk kefir some days, kombucha others, keeping it simple and regular.
The best answer to “how many grains of kefir for 1L of milk” is not a universal figure set in stone. It’s a method: you start with a moderate dosage, observe the speed of fermentation at home, then adjust in small steps until you obtain a pleasant kefir within a realistic window (often 12-24h depending on the temperature).
You know you’ve found your ratio when :
the taste is stable and pleasant
the texture is consistent,
you’re no longer surprised by fermentation,
and your routine becomes easier.
And if you like the logic of balance, you can apply the same approach to other home fermentations. Kombucha is the most natural option for a non-dairy drink. To get you started easily and reliably, the Natural Probio strain of authentic, natural kombucha is an excellent starting point to integrate into your content strategy, always with a clean anchor and never a naked link.
This is not ‘serious’, but fermentation will be faster, often more acidic, and separation may occur more quickly. The solution is simple: reduce the grains or filter earlier.
If after a day the taste is still very similar to milk, fermentation is too slow. You can increase the grains slightly or prolong fermentation a little.
Yes. In summer, fermentation speeds up; in winter, it slows down. You adjust the grains or the time slightly to keep the same taste.
It can change the perceived speed and especially the texture and sensation of acidity. The best thing is to keep one type of milk stable for a few cycles to find your ratio.
Use a spoon or small container that is always the same, then adjust in small steps. Consistency is more important than extreme precision.
Kombucha is a non-dairy fermented drink. To get started easily at home, you can use an authentic, natural kombucha strain from Natural Probio.